• Inflation has infiltrated every part of the country, and that includes the nail salons. There was a time when we could get our nails done without paying an amount equivalent to a university student’s school fee, but now it’s practically impossible. These days, there is a lot more thought that goes into deciding if getting our nails done is necessary. Getting nails done professionally is now out of reach for many people. 

    Fortunately, there is a practical alternative. We’ve created a guide that explores budget-friendly ways to get cute, long-lasting nails using simple tools, press-ons, and easy at-home techniques.

    Important Tools for DIY Nail Care 

    For DIY nail care, you don’t need complex equipment that will break the bank. A simple starter kit that works with your budget, and it includes:

    1. Nail clippers

    Price Range: 1,000-5,000
    Where to get: Jumia

    2. Nail file and buffer

    Price Range: 2,000-10,000
    Where to get: Temu

    3. Cuticle pusher

    Price Range: 1,000-7,000
    Where to get: Ubuy

    4. Cuticle oil (optional)

    Price Range: 3,800-12,000
    Where to get: Care to Beauty 

    5. Base and top coat

    Price Range: 2,000-10,000
    Where to get: Ubuy

    6. Nail polish

    Price Range: 1,800-8,000
    Where to get: Jumia

    7. Press-on nail sets

    Price Range: 2,500-8,000
    Where to get: Sojoee

    8. Nail glue

    Price Range: 1,500-4,000
    Where to get: Ubuy

    9. UV/LED lamp (if you plan to do gel nails)

    Price Range: 12,000-27,000
    Where to get: Temu

    Get More Zikoko Goodness in Your Mail

    Subscribe to our newsletters and never miss any of the action

    You’ll love: A Zikoko Girl’s Guide To Dealing With Inflation


    Affordable At-Home Nail Options

    1. Classic Nail Polish 

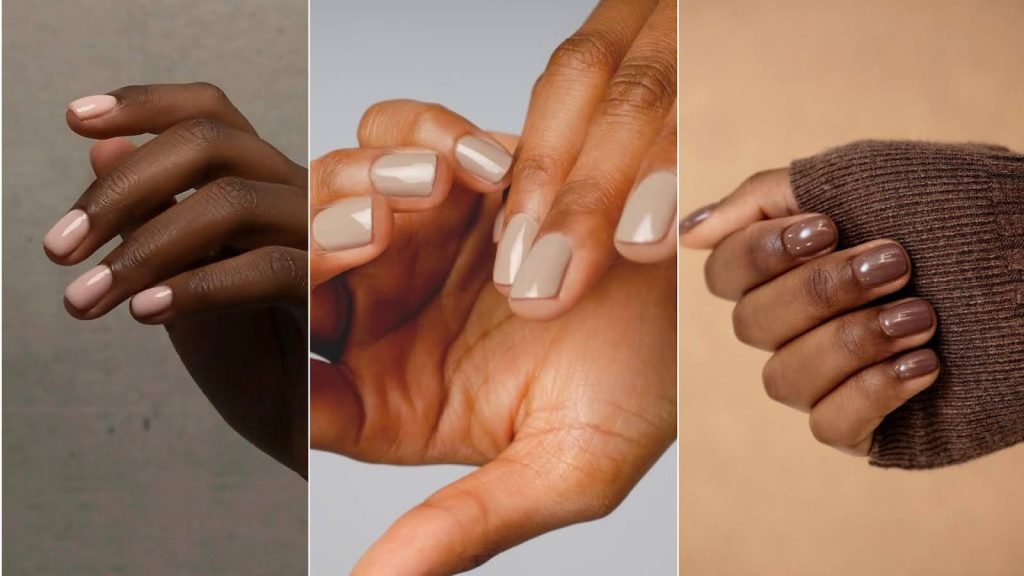
    This is regarded as the standard manicure, and it is the least expensive option. Not only is it easy to do while seated in the comfort of your living room, but it also comes with a variety of colours. They are the perfect option for everyday looks. 

    Step-by-Step Guide: 

    1. Trim nails with clippers and shape with a file. 
    2. Gently push back cuticles with a cuticle pusher. Make sure to avoid cutting your cuticles. 
    3. Apply a thin base coat to help polish last. 
    4. Apply 1-2 layers of the nail polish of your choice. 
    5. Apply a top coat to seal the polish. 
    6. Let nails air-dry and voila, your beautiful nails are ready.

    2.  Press-On Nails

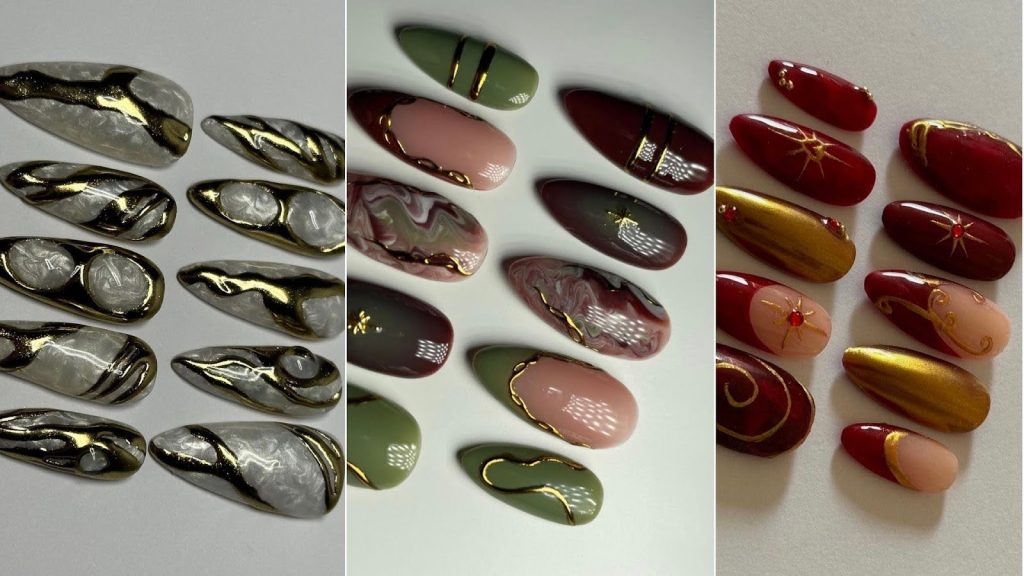
    Press-ons are the most convenient nail options. They come in designs, ranging from French tips to Chrome, are quick to apply, and tend to come in multipacks that can last for weeks. When you want to get a salon-quality look without spending salon money, press-on nails are always there to save the day.

    Step-by-Step Guide

    1. Prep your natural nails by buffing slightly and gently pushing back cuticles. 
    2. Choose the right size of your press-ons for each nail. 
    3. Apply nail glue to both nails and press-ons
    4. Press firmly for at least 30 seconds, and you are ready to go. 

    3. Gel Nails

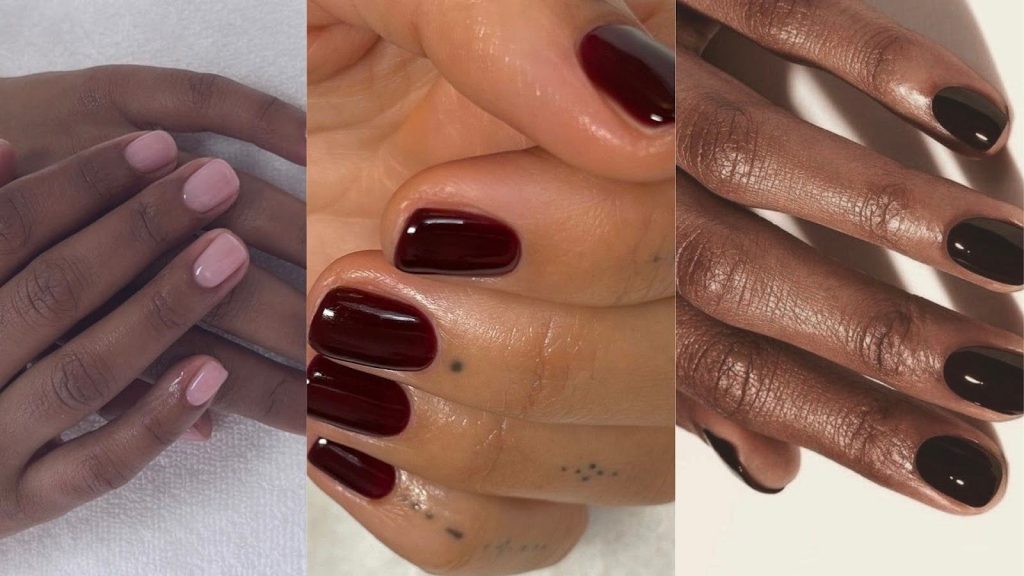
    For those who have a preference for long-lasting polish, having a gel kit is a great investment.

    Step-by-Step Guide

    1. Prep your nails by clipping and filing 
    2. Gently use your cuticle pusher to push your cuticles 
    3. Buff your nails until your nail beds are even 
    4. Wipe nails with rubbing alcohol to clear your nails of debris 
    5. Evenly apply a thin layer of gel base coat on your nails 
    6. Cure nails with your UV lamp for about 40-60 seconds 
    7. Once that is done, carefully apply a thin layer of your preferred gel polish and ensure to smooth the layer before curing for 30-60 seconds
    8. After curing the gel polish, apply a thin layer of top coat, smooth it and cure it for one last time for 30-60 seconds.

    Next Read: 10 of Our Favourite Alté Babes Share Their Wardrobe Essentials 

    [ad]


  • When people talk about acrylic nails, people usually only mention how hard it is to use your hands after fixing them. But there’s more, and we’re here to tell you other things people don’t tell you about fixing acrylic nails.

    1 They’re addictive 

    When people talk about addiction, they forget that getting acrylic nails can be an addiction. The sound your nails make when they tap your phone, how elegant flipping a bird is and the way they take your hands from 0–100 makes you want them all the time. If your bank account can finance this addiction, we’ll eat you when it’s time to eat the rich. 

    2 They leave your nails looking ugly

    When you finally remove your acrylic nails, your nails don’t look particularly pretty. All the glue they used in fixing the acrylic end up making your natural nails unsightly . It’s worse if/when the acrylic breaks off. 

    3 You need to be creative while removing the acrylic 

    If for some reason you need them off sooner than expected, you don’t have access to nail dissolver, then prepare to suffer like this babe. And 

    Why? Because the nearest place that sold the nail dissolving solution was far, and your babe’s fingers HURT

    4 You lose some feeling in your fingers 

    Having acrylic nails means the tips of your fingers lose some feeling.  You’ll feel numb, as though you’ve been lugging around blocks of cement with your fingertips. 

    5 Never get your acrylic nails with long natural nails 

    If you grow out your nails and you’re not prepared to cut them, then acrylics aren’t for you. If you’re stubborn and enjoy brutal pain, then you can go ahead and fix the them. Removing them will hurt but at least your vocabulary of cuss words will expand. 

    6 You will have to reorient your brain 

    Things you’ve gotten used to doing will have to change because of your new… appendages. You can no longer just pick your card from the table.You’ll have to learn a new way of contorting your body to do the simplest tasks. Stressful. 

    [donation]

  • If you are a woman with long nails, then you should probably relate to a few things on this list.

    1) Typing

    Typing becomes so ridiculously stressful. You get so many typos, and when typing with your laptop, you look like this.

    2) Unhooking a bra

    If you live alone, this is actually double trouble because there is nobody to help you. Unhooking your bra can take five minutes.

    Hi there! The HER weekly newsletter launches on the 6th of March, 2021. A new newsletter will go out every week on Saturday by 2pm. If you have already subscribed please tell a friend. If you haven’t, you can by clicking this button. It will only take fifteen seconds. Trust me, I timed it!

    3) Having pens

    The pen is not for writing, but for helping you perform tasks like laying your bed, picking things from the floor, and pushing buttons.

    This is why they said the pen is mightier than the sword

    4) Clothes with buttons

    Your greatest enemy is a button. You cannot fully hold them without it slipping out a few times. Button up shirts are a menace.

    5) Laying your bed

    You can’t tuck the corners of your bedsheet in the bedframe because your nails will hurt.

    6) Doing the dishes

    Gloves will become your best friend if you wash your plates yourself. As if washing pots are not hard enough.

    For more HER stories, please click here

    [donation]